什么是JDBC?
JDBC是Java DataBase Connectivity的简称, 是用来规范访问数据库的应用程序接口. 面向关系型数据库.
JDBC与MySQL的配合使用
1 | public static void main(String[] args) throws Exception { |
详解各个JDBC对象
DriverManager: 驱动管理对象
功能
负责加载各种不同驱动程序
根据不同的请求, 向调用者返回相应的数据库连接
getConnection(String url, String user, String password)
url : 指定数据库路径
jdbc:mysql://ip地址(域名):端口号/数据库名称
jdbc:mysql://localhost:3306/mysqlName
user: 用户名
password: 密码
Connection : 数据库连接对象
功能
- 负责与数据库间的通讯
- SQL语句的执行
- 管理事务
- 开启事务
- 提交事务
- 回滚事务
Statement : 用以执行SQL查询和更新 (静态SQL语句和单次执行)
执行sql语句
boolean execute(): 可以执行任意sql语句
int executeUpdate(): 可以执行DML语句, DDL语句
返回值: 影响的行数, 可以通过该值进行判断sql语句是否执行成功, 大于0则成功
- ResultSet executeQuery(): 执行DQL语句
ResultSet : 结果集合对象
PreparedStatement: 用以执行包含动态参数的SQL查询和更新 (可以重复执行)
sql注入问题, 在拼接sql时, 有一些sql的特殊关键字参与字符串的拼接. 造成安全性问题
步骤
1. 用户名随便写, 密码: a’ or ‘a’ = ‘a
2. sql语句为: select * from t_student where name = ‘lll’ and password = ‘a’ or ‘a’ = ‘a’
3. preparedStatement sql语句: select * from t_student where name = ? and password = ?
4. 给?设置参数
setXXX(参数1, 参数2); // 参数1: ?的位置, 从1开始, 参数2: ?的值
优点
1. 可以防止sql注入
2. 效率更高SQLException 数据库连接的建立和关闭和SQL语句的执行过程中发生了例外情况
JDBC之CRUD的使用
1 | Connection conn = null; |
1 | Connection conn = null; |
JDBCTools 工具类的创建
步骤
抽取注册驱动
抽取一个方法获取连接对象
定义配置文件 (不想传递参数, 还得保证工具类的能用性)
配置文件, 名称为: jdbc.properties
url = jdbc:mysql:///LCLDataBase
user = root
password = root
抽取一个方法释放资源
敲代码
1 | public class JDBCTools { |
练习
录入用户名和密码
提示示用户是否登录成功
步骤
创建表
1
2
3
4
5CREATE TABLE t_student (
id INT PRIMARY KEY auto_increment,
name VARCHAR(32),
password VARCHAR(32)
);添加数据
1
2INSERT INTO t_student VALUE (null, 'zhangsna', '123456');
INSERT INTO t_student VALUES (null, 'lisi', '654321');写代码
1
2
3
4
5
6
7
8
9
10
11
12
13
14
15
16
17
18
19
20
21
22
23
24
25
26
27
28
29
30
31
32
33
34
35
36
37
38
39
40
41
42
43
44
45
46
47
48
49
50
51
52
53
54
55
56
57
58
59
60
61
62
63
64
65
66
67
68
69
70
71
72
73
74
75
76
77
78
79
80
81
82
83
84
85
86
87public static void main(String[] args) {
// 输入的用户名和密码
Scanner sc = new Scanner(System.in);
// 输入用户名
System.out.println("请输入用户名");
String name = sc.nextLine();
// 输入密码
System.out.println("请输入密码");
String password = sc.nextLine();
// 调用方法
boolean res = new Login().login2(name, password);
// 判断是否成功
if (res) {
System.out.println("登录成功");
} else {
System.out.println("用户名或密码错误");
}
}
public boolean login2(String name, String password) {
ResultSet rs = null;
PreparedStatement stmt = null;
Connection conn = null;
try {
// 获取连接对象
conn = JDBCTools.getConnection();
// 查找数据的sql语句
String sql = "select * from t_student where name = ? and password = ?";
// 执行sql语句
stmt = conn.prepareStatement(sql);
// 给?赋值
stmt.setString(1, name);
stmt.setString(2, password);
System.out.println(sql);
// 执行sql语句
rs = stmt.executeQuery();
// 返回结果
return rs.next();
} catch (SQLException e) {
e.printStackTrace();
} finally {
// 释放资源
JDBCTools.close(rs, stmt, conn);
}
return false;
}
public boolean login(String name, String password) {
ResultSet rs = null;
Statement stmt = null;
Connection conn = null;
try {
// 获取连接对象
conn = JDBCTools.getConnection();
stmt = conn.createStatement();
// 查找数据的sql语句
String sql = "select * from t_student where name = '" + name + "' and password = '" + password + "'";
System.out.println(sql);
// 执行sql语句
rs = stmt.executeQuery(sql);
// 返回结果
return rs.next();
} catch (SQLException e) {
e.printStackTrace();
} finally {
// 释放资源
JDBCTools.close(rs, stmt, conn);
}
return false;
}注意
当我们使用login()的时候会有sql注入问题, 因为它是执行静态sql语句, 我们以后要使用logn2()的方法, 使用动态参数的sql语句
数据库连接池
什么是数据库连接池
其实就是一个容器(集合), 存放数据库连接的容器
当系统初始化好后, 容器被创建, 容器中会申请一些连接对象, 当用户来访问数据库时, 从容器中获取连接对象, 用户访问完之后, 会将连接对象归还给容器
好处
1. 节约资源
2. 高效C3P0连接池技术
步骤
导入jar包
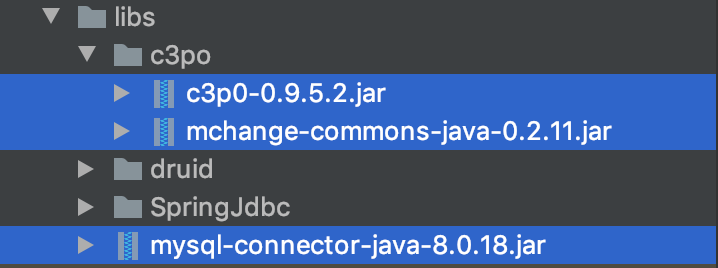
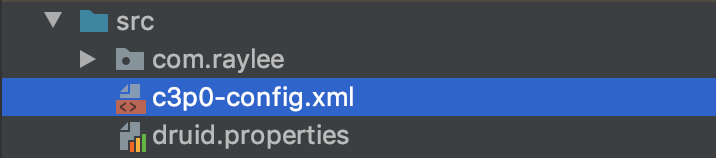
定义配置文件 c3p0.properties 或者 c3p0-config.xml, 放在src目录下既可
内容
1
2
3
4
5
6
7
8
9
10
11
12
13
14
15
16
17
18
19
20
21
22
23
24
25
<c3p0-config>
<default-config>
<!-- 驱动 -->
<property name="driverClass">com.mysql.cj.jdbc.Driver</property>
<!-- 数据库地址 -->
<property name="jdbcUrl">jdbc:mysql://localhost:3306/LCLDataBase</property>
<!-- 用户名 -->
<property name="user">root</property>
<!-- 密码 -->
<property name="password">fengqing2018</property>
<!-- 超时时间 -->
<property name="checkoutTimeout">3000</property>
<!-- 最大连接数量 -->
<property name="maxPoolSize">10</property>
</default-config>
</c3p0-config>
创建核心对象, 数据库连接池对象
获取连接对象, getConnection()
代码
1 | // 创建数据库连接池对象 |
注意
c3p0自动加载src目录下的c3p0-config.xml配置文件
druid数据库连接池技术
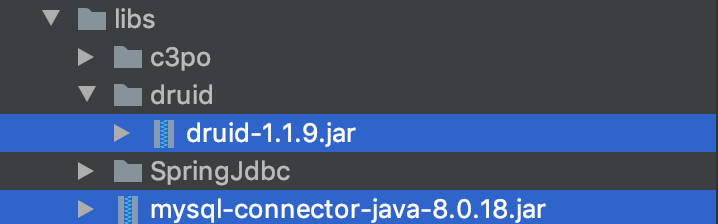
导入jar包
定义配置文件

内容
1
2
3
4driverClassName = com.mysql.cj.jdbc.Driver
url = jdbc:mysql:///LCLDataBase
username = root
password = root
加载配置文件
获取数据库连接池对象
获取连接对象
代码
1 | // 通过加载配置文件, 创建数据库连接池对象 |
JDBCUtils工具类的创建
- 定义一个类JDBCUtils
- 提供静态代码块加载配置文件, 初始化连接池对象
- 提供方法
- 获取连接方法
- 释放资源
- 获取连接池方法
代码
1 | public class JDBCUtils { |
Spring JDBC
spring提供的jdbc的简单封装, 方便我们进行方法的调用, 当然我们要理解它的实现原理
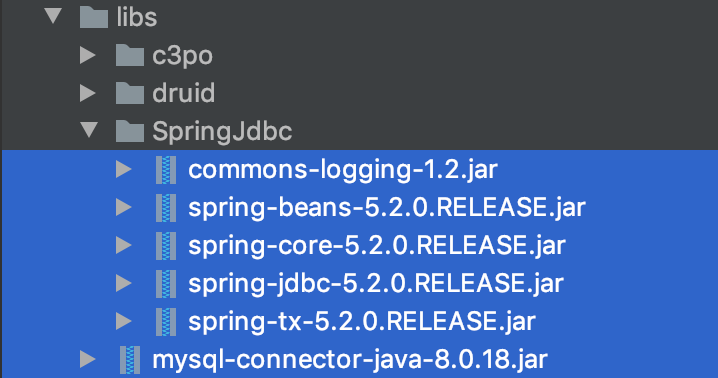
导入jar包
创建JDBCTemplate对象
调用方法来完成CRUD的操作
update() DML语句, 增, 删, 改语句
queryForMap(), 将查询的结果封装为map集合
queryForList(), 将查询的结果封装为list集合
queryForObject(), 将查询的结果封装为对象
query(), 将查询的结果封装为JavaBean对象
练习
- 修改一条记录
- 添加一条记录
- 删除一条记录
- 查询所有记录, 将其封装为map集合
- 查询所有记录, 将基封装为list集合
- 查询所有记录, 将其封装为Student对象的List集合
代码
1 | public class SpringJdbc { |
至此, JDBC的基本使用就已经学完了! 希望对大家能有所帮助!